No Solder PSP Dual Joystick / Nub
This tutorial is for how to create a joystick to fit over the 4 action buttons on the PSP.
To discuss this modification, see the post at the acidmods.com forums.
Things you will need:
- Xbox 1 Controller
- Superglue
- Dremel

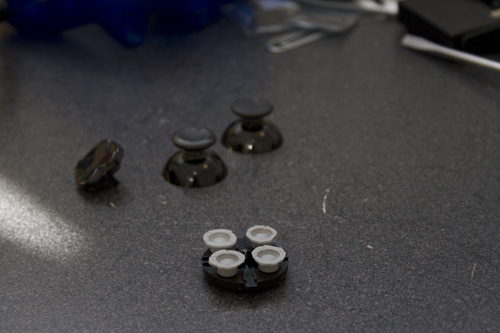
Disassemble the Xbox 1 controller. There are plenty of tutorials online for this. You will need, in order from left to right, the D-Pad (you don't actually need this, it was just in the picture), the underside of the D-Pad, one of the Joysticks (you will use the other to replace the standard PSP nub, see other tutorials), and then cut out the pads under the A, B, X, and Y buttons. Ensure you use the pads under those buttons, as the pads under the D-Pad are not as large.
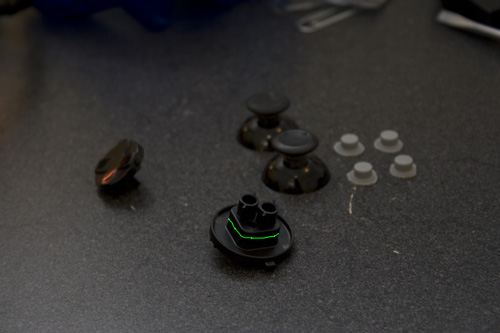
For the underside of the D-Pad, use a Dremel to cut it down at the green line.
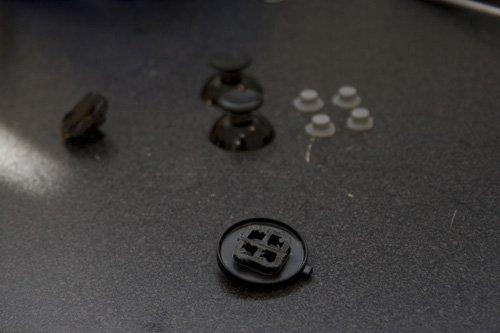
This is what you should be left with.
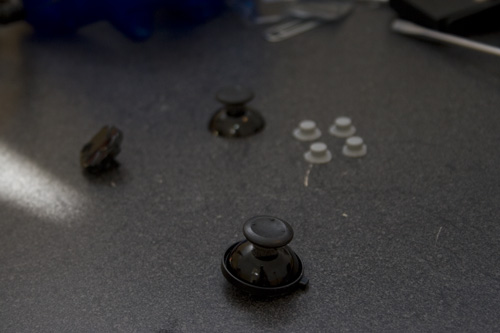
One of the Joysticks should fit over it at this point.
Flip the bottom of the D-Pad back over.
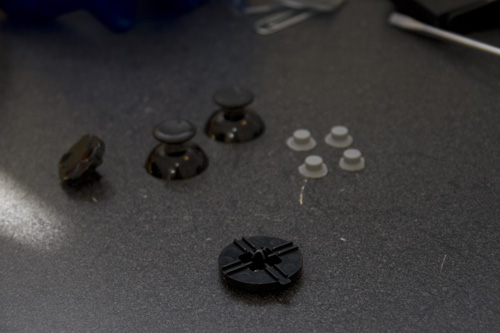
This is how the rubber pads will end up being attached.
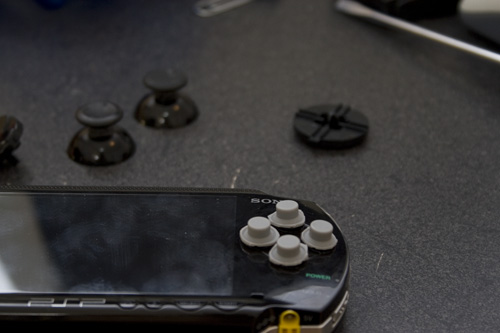
Fit the rubber pads over the buttons of the PSP.
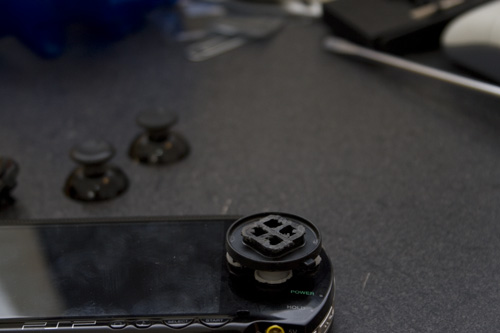
Place a dot of superglue on each pad, then press the underside of the X-Box D-Pad down on them to secure the pads to the D-Pad. I put a spool of CDs on top for a few minutes to ensure a good bond.
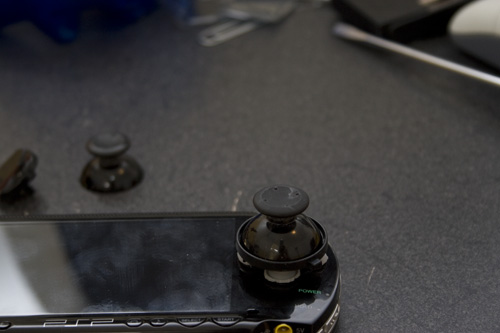
Run a line of glue around the edge of the D-Pad inside the lip. Set the Joystick down to secure with the glue.
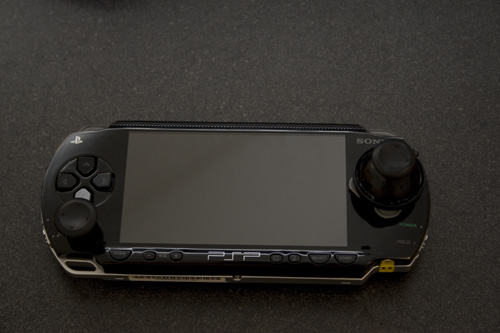
Here is a picture of the completed product. The pads sit over the buttons, keeping the joystick in place during use (for the most part).
|
|
|
|